Of the many questions and topics that are asked to tarot cards, not a small one ...


Liquid wallpaper is becoming more and more popular every day. Many initially have fears that they are liquid and are already sold in this form, but there is nothing to worry about, they become liquid only in the course of direct preparation and application to the walls.
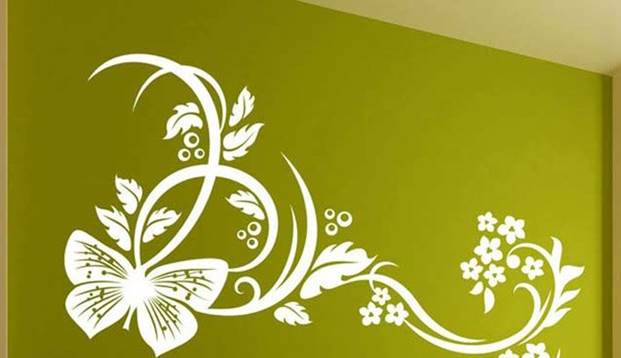
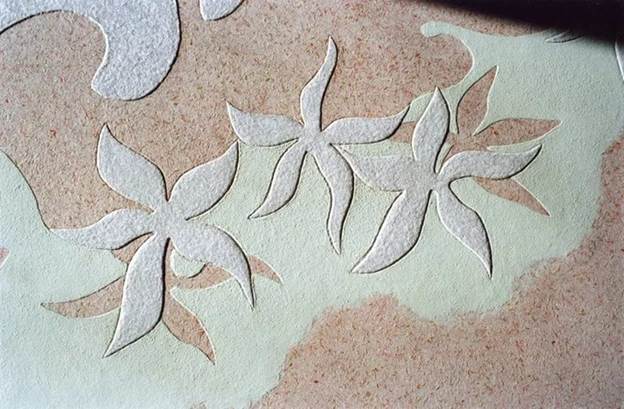
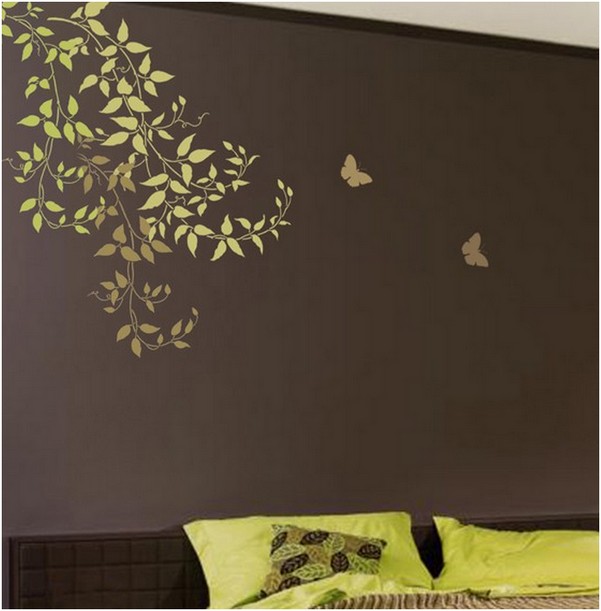
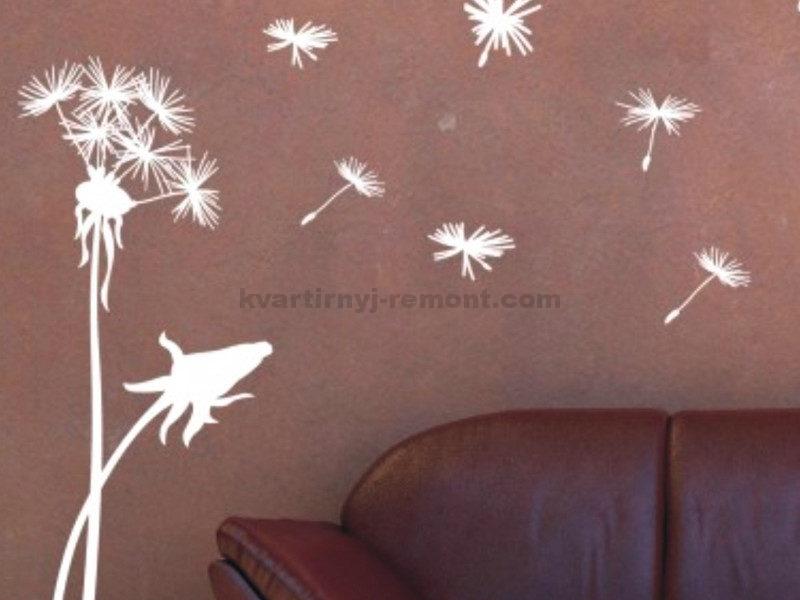
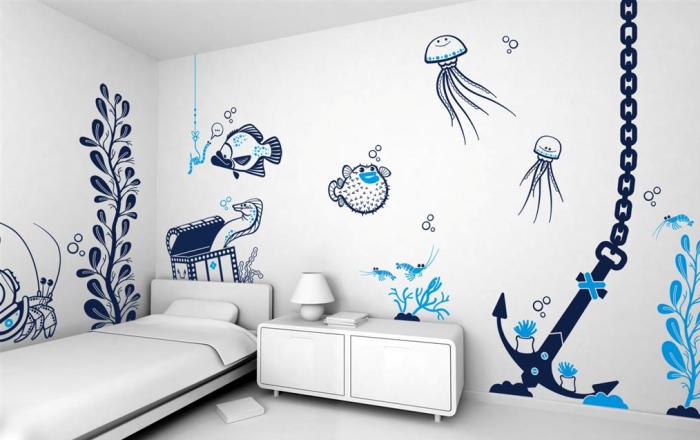
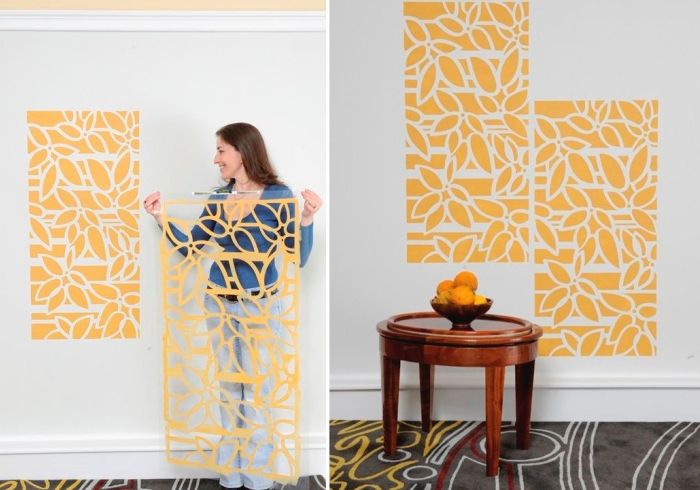
Also, a frequent occurrence among consumers is the search for stencils to create patterns using liquid wallpaper, and this material will be devoted to just that. Pay attention to the photo below, which shows the options for using stencils:
Liquid wallpaper on the walls instead of the usual ones is increasingly found in modern homes, as they have a large number of advantages over any paper wallpaper, namely:
On this note, we will finish about the advantages of wallpaper, and, perhaps, we should insert a bold minus. Such a coating has low water resistance, i. It is easily washed off with water, so it cannot be used in wet areas. Although when varnished, they can withstand high humidity quite well. Pay attention to the drawings made by liquid wallpaper:

It is also necessary to emphasize another advantage that liquid wallpaper has - the maximum number of colors, i.e. shades. The mixtures themselves have a fairly large wealth of colors, but in addition there are a large number of dyes and additives for them.
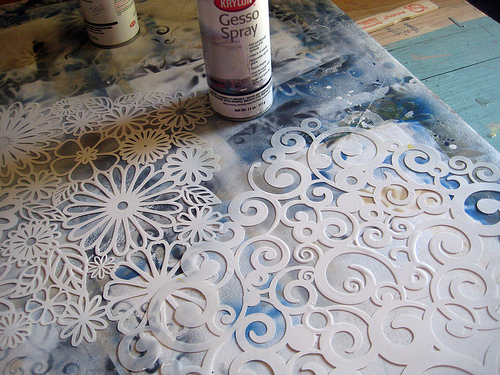
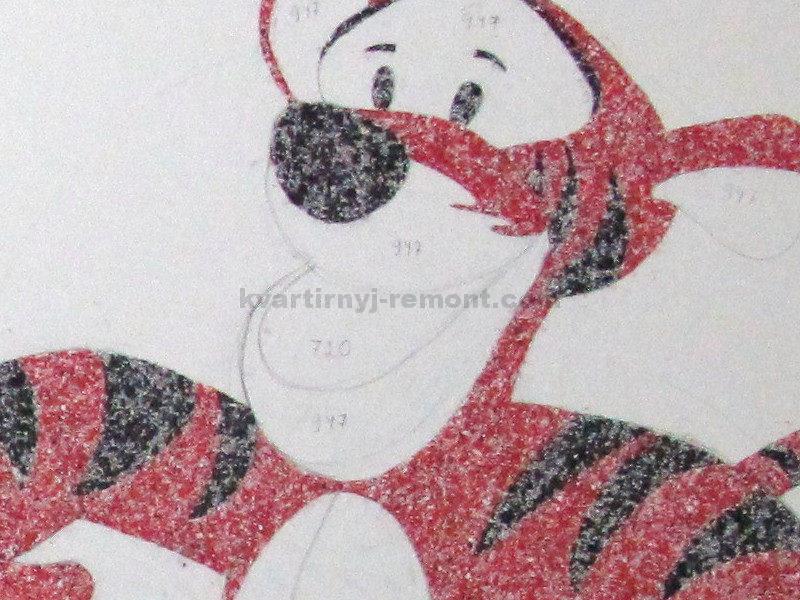
And it's time, finally, to talk about today's topic - stencils for liquid wallpaper. And what are they? The photo shows a pattern for a children's room:

First of all, you need to strictly understand how they can diversify your interior, make it as individual as possible, and most importantly, you can do it all yourself.
By type, stencils can be divided as follows:

At its core, liquid wallpaper is a unique wall covering. They are created on the basis of textile fibers, various additives and an adhesive mixture. But you should take a closer look at the composition of such material:

What features do liquid wallpapers have, and why do they choose them for the most successful decor:
It is thanks to these factors that wallpapers are gaining maximum popularity every day.
Such decor will bring a zest to your interior and will be able to please the taste of everyone. A large palette of colors, thousands, even hundreds of thousands of variations of patterns and much more. All this will give you the decoration of walls or ceilings with such decorative plaster as liquid wallpaper.
Now for some illustrative examples. The video provides an overview of the interiors made with liquid wallpaper, in the form of the author's shooting and photos:
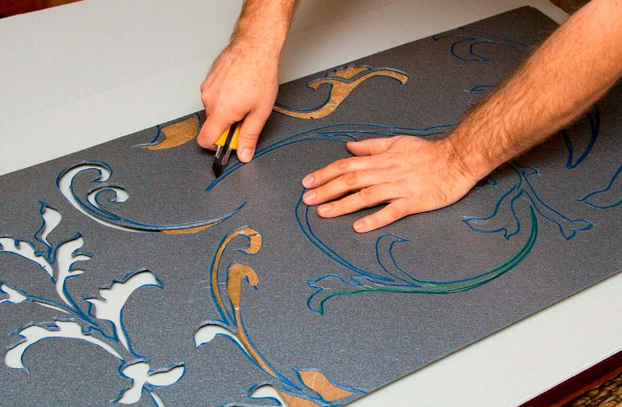
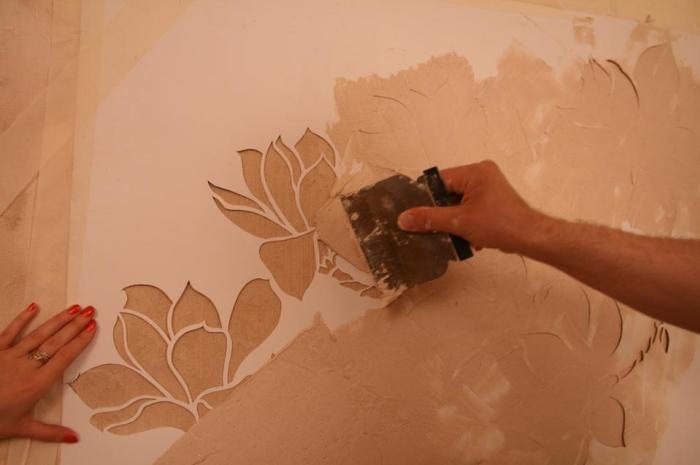
One of the frequently asked questions is how to make a stencil for liquid wallpaper with your own hands. This turns out to be quite simple. All you need is a few sheets of paper and thick material. Well, let's take a closer look:
As you can see, this is quite simple, and this method is considered the fastest and most entertaining for yourself personally.

The main thing in the future is to correctly cut the stencil, while it is important to note that the stencil should only be cut with a sharp construction knife. We recommend replacing the blade as often as possible to obtain the most even lines.
By the way, no need to try to make perfectly smooth edges. It is almost impossible to do this with your own hands, but a slightly uneven pattern will become a personal handmade.
![]()
In some cases, a building mirror will work well. Since with its help it is much easier to cut off extra limbs. And at the same time, in addition to straight lines, it should also be noted the ease of implementation and the beauty of the result.
Painting on the walls will help to give any room originality, individuality and style. Naturally, you can apply them yourself easily and simply, but without artistic talent, the murals will be at least uninteresting.
The problem can be solved by using a stencil. How to work with it, according to what principle, we will talk in the article below.
It’s worth saying right away that stencils for painting on wallpaper allow you to highlight with an ornament, let’s say one zone, without overloading the rest of the walls. Still, you need to be careful with the image, too much is not always good.
On the other hand, a skillfully selected one will not only not overload the room, but will also emphasize its style, focus on the right place and reflect the general mood of the room decor.
Important! A stencil ornament is a universal means for a pattern, and it can be used on any surface and finish, but application on wallpaper is closest to the ideal indicator.
The ornament that can be applied is not limited to one type, because stencils are drawings on wallpaper in several directions, types:
Drawing a pattern begins with the choice of a stencil, despite the fact that it is always matched to the style of the room, there are a few basic recommendations:
It cannot be said that there is at least some clear instruction for choosing a place for drawing a picture. It all depends entirely on personal, individual preference.
In preparation, we will need how to prepare a place on the wallpaper for the image, and a tool.
Let's start with the latter, you will need:
In the same way, in the form of a step-by-step enumeration, one can describe surface preparation:
Advice! It is always recommended that you first apply several designs separately on parts of the wallpaper in different colors, and attach them to the wall in different variations. This will allow you to visually understand how this or that pattern and color will look in the room.
Moreover, the principle of preparing the form works, and if stencils for liquid wallpaper are needed, here it is simply applied according to a special composition more reminiscent of paint.
Of course, it is worth mentioning that do-it-yourself wallpaper stencils can be made without problems.
Here's an incredibly simple principle:

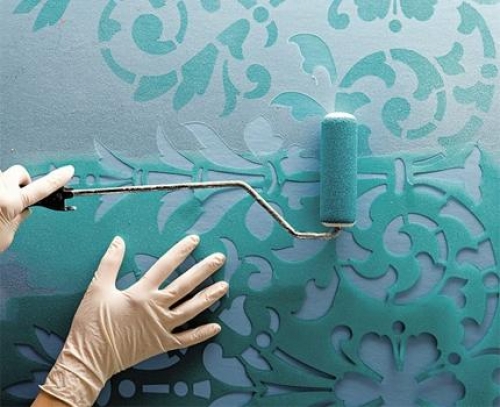
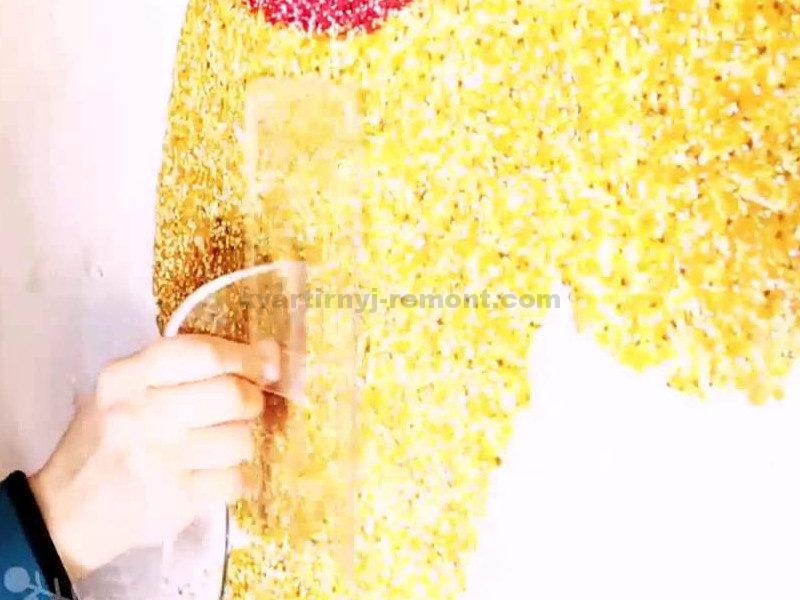
After all the preparation has been carried out, it is not difficult to apply the paint. The stencil is applied to the wallpaper strictly according to the markup, and its cut out forms are stained.
For painting, you can use both a small roller and a brush or an aerosol can. If we are talking about a simple drawing, it does not matter how and with what to apply it.
As can be seen from the foregoing, the coloring itself occupies an insignificant part of the work with the stencil, it is based on the correct preparation, image selection and marking. How to do all this in practice will demonstrate the video in this article, which will clearly answer all the questions.
Each of us wants the design of his apartment to be unique, to give the apartment comfort and unique style. This will help liquid wallpaper. The creative and creative people there are plenty of opportunities to transform any room with the help of original drawings that are applied to the walls. This will give the room originality, originality and attractiveness.
Liquid wallpaper is a mixture that, at first glance, looks like decorative plaster. However, they are different. Their composition is a mixture of various dyes, an adhesive base and various components of silk materials, cotton and cellulose.
Of course, the composition of liquid wallpaper is constantly being improved. Manufacturers add various sawdust or chips of exotic wood, natural mica and even seaweed.
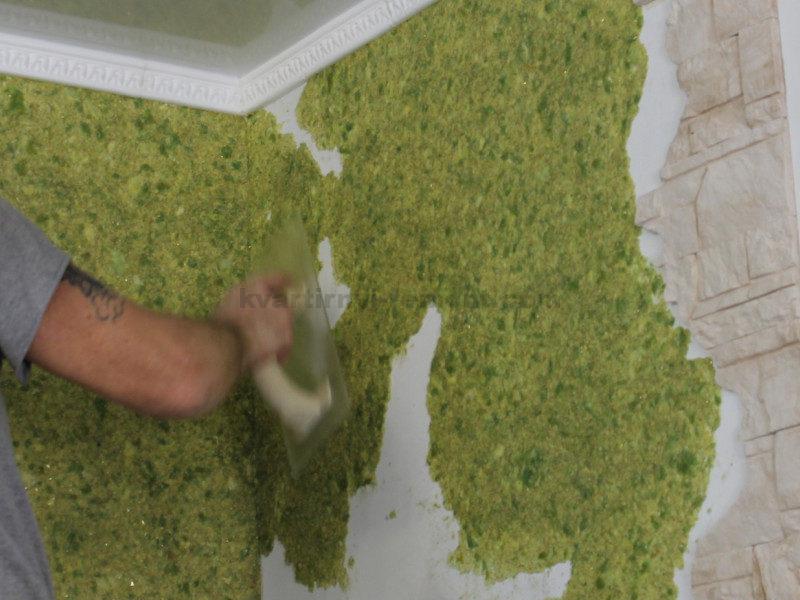
The technique of applying liquid wallpaper is easy to use. How to apply them? We take part of the prepared mixture and throw it on the wall. Then, using a spatula or roller, we level it on the surface. On sale you can also find special equipment for working with liquid wallpaper - these are plastic or stainless steel trowels.
It is best to have two tools at once - both a roller and a trowel. With a roller, you can immediately level the maximum of the composition along the wall, and after that, with the help of a trowel, complete the application - you get a smooth and even layer.
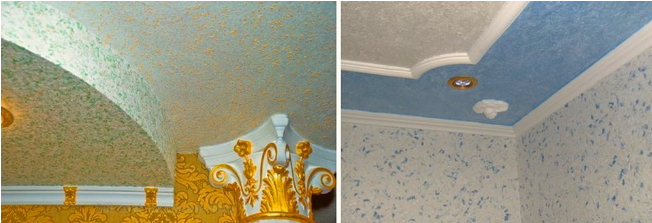
The procedure for applying wallpaper to the ceiling is not quite the same as on the walls. For the ceiling, first we take a trowel, we collect a little composition with it, and after that we throw this composition onto the ceiling. If you use a textured roller, you will get a more embossed surface.
Liquid wallpaper is various kinds and, accordingly, the thickness of the layer may vary. But this information, as a rule, is always indicated on the packaging.
It is worth noting that liquid wallpaper is not whimsical to temperature conditions however, they should not be used at temperatures below 15 degrees. Liquid wallpaper can be easily applied in winter. In this case, it is only necessary to consider the conditions under which the surface will dry quickly. They are not afraid of drafts, so you can work and open the room for ventilation.
First of all, we prepare working area i.e. walls. Be sure to have the following tools: spatula, roller, acrylic grater and, if necessary, a spray gun.
Let us draw your attention to the fact that liquid wallpaper with a pattern does not exist in nature. There are liquid wallpapers, and you can use them to create an ornament, but only with your own hands. The advantage is that you can depict any drawing and not only in different colors, but also in different textures.
There are 2 drawing techniques:
1. Screen printing;
2. Arbitrary combination (independent).
Techniques are quite different from one another, but it is always worth starting in the same way -. And then use the preferred drawing technique.
As mentioned earlier, you can slightly adjust the surface, hiding minor flaws or cracks. But the cleanliness of the walls should be given maximum attention. The surface under liquid wallpaper must be clean, without any remnants of old wallpaper or paint. After cleaning the walls, we apply primer or use deep penetration impregnation. We wait until the surface is dry. And only then you can start working with liquid wallpaper and drawing.

Let's talk about the simplest application technique - stencil. The main point is in the title. But let's go in order.
The whole process consists of 2 stages. First, we apply the first layer of liquid wallpaper. And only after the first layer is completely dry, we continue to work on. Secondly, where we need, we fix the stencil using masking tape.
Very important! Do not use regular tape! When you remove it with a stencil, you can damage the layer, as it will stick to the surface of the tape. As a result, you will get unpleasant spots that will have to be additionally painted over or sketched.
What about the stencil? The choice here is great. You can create it yourself based on your ideas. Or choose from the available offers on the market or in hardware stores.
Important! Be sure to make sure that the first layer of liquid wallpaper is completely dry. This may take some time - 2-3 days. Only after that you can start applying the stencil and drawing, respectively.
Attached the stencil, applied another layer of the pattern. Now you need to wait a couple of hours for the drawing to dry, and only then carefully remove the tape and stencil from the wall. That's all. The drawing has been drawn. You can continue to work, continue to apply drawings or varnish the wall.

Unlike the previous technique, this method is more time-consuming and labor-intensive. The number of colors used greatly increases the drawing time, because after applying each color (layer), you must wait for it to dry completely before moving on to the next application.
The process of applying a complex pattern can be painted in several stages:
Often, drawings are applied in children's rooms or bedrooms. In living rooms they practice less often. Also liquid wallpaper, because they perfectly tolerate changes in temperature and humidity. For each room and the design will be individual.
If you need to visually enlarge the room a little, then use drawings in cold colors. And warm shades will give coziness and a calm atmosphere.
To choose a picture for a nursery, consider the child's gender, age and hobbies. It is best to talk through the options with the child so that he likes to be in the room and the composition does not cause discontent. For kids, as a rule, they choose compositions with fragments from cartoons, fairy-tale characters, a marine theme or a pink puppet. Psychologists on this occasion recommend not to use too bright colors so that this does not affect the child's psyche.
For the kitchen, various still lifes of fruits and vegetables or images with cups and kitchen utensils are suitable.
Advice! Don't use massive large images. They visually reduce the room.
First, select or come up with a sketch of a drawing. The pattern can be smooth or voluminous, with simple or intricate lines. The simplest are two-color compositions. The more colors you want to use and the more fine details the drawing will have, the more difficult it will be for you to implement this. However, you need to think through everything in advance, calculate the number of colors in order to purchase all the necessary materials.
If you are not an artist and do not have the appropriate skills, you will face the difficulty of applying a contour using liquid wallpaper.
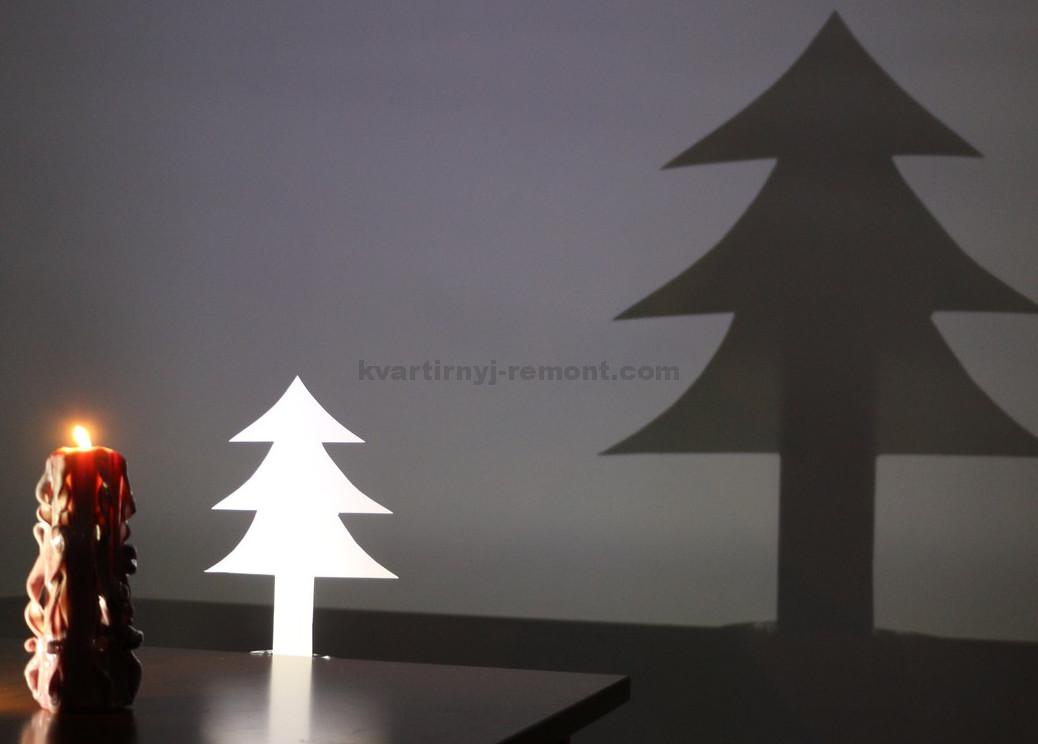
Advice! Sketch with glass and lamp. Then transfer it to the wall and fill it with liquid wallpaper. In this way, you can easily decorate your room with an individual pattern of your own production.
Additional tips for budding artists:
Using liquid wallpaper, you can bring the most creative and daring ideas to life. Choose those that will bring you pleasure and only positive emotions. Making a picture with liquid wallpaper will transform your room or apartment as a whole beyond recognition, give exclusivity to the design, and provide a unique ornament on the walls.
Change your design, transform it with a liquid wallpaper pattern. This design approach will not go unnoticed. And you will receive aesthetic pleasure and pride that you have created it with your own hands.
These articles are usually viewed as well.
To increase the decorative characteristics of wallpaper, whether they are ordinary, liquid or paintable, you can use various ways, for example, paintings, but the most popular lately is the use of stencils. Today we want to tell you about wallpaper stencils, their types and main features of use, as well as how to use them to apply drawings on the walls.
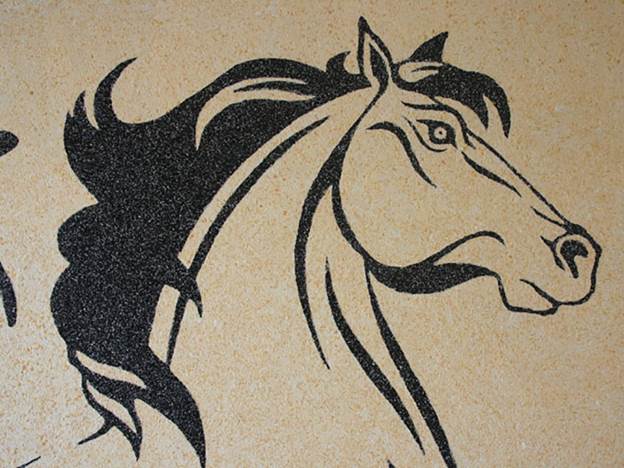
Quite a complex image, but with due care everything will turn out
It is difficult to overestimate the possibilities of using a stencil for drawing a picture on the wall surface, because the vast majority of people are not able to draw an image on their own, and even more so on wallpaper. However, many of us strive to somehow decorate our home in a special way, to bring individuality into its interior. This is where prepared stencils come to our rescue, through which you can draw almost any drawing on the wallpaper.
An additional positive factor in the use of this method of painting wallpaper, compared, for example, with the factory one, is that we ourselves can vary the number, size and arrangement of patterns. We can choose the best places, colors, and the drawings themselves can be absolutely anything.
According to builders and designers, the fact that the drawing can be successfully and beautifully applied to any surface, and at the same time choose an arbitrary location on the wall for it, is also gratifying. In this way, you can set successful accents, shift attention and, of course, divide the common space of the room into zones.
Drawing with a stencil is available for walls finished with all modern materials. The paint is easy to lay down on ordinary wallpapers, canvases for painting, liquid options, on decorative plaster, lining, panels, even tiles. Therefore, this method of decorating a room can be used both in an apartment and in a private house or summerhouse, where plywood is used as walls in principle.
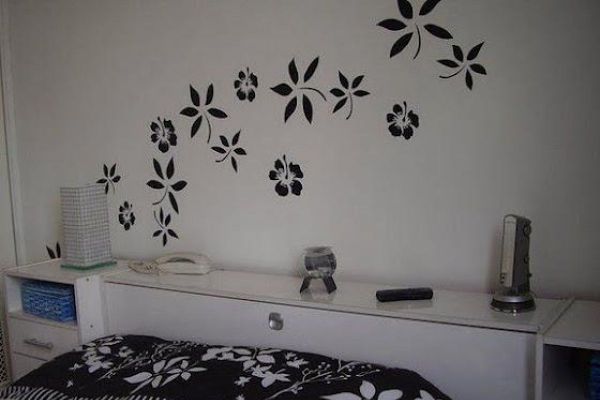
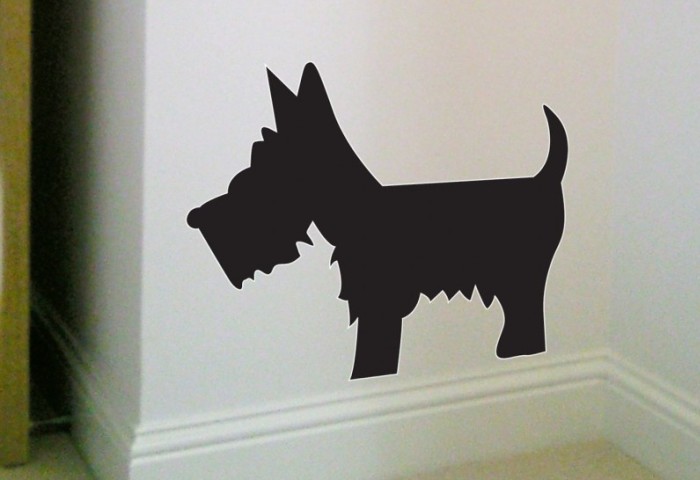
Funny kids room wall decor
Many people decorate with the help of similar drawings, in the kitchen and even in the bedroom. In addition, there are no difficulties and obstacles in this way of decorating a house, the main thing is to choose a good stencil and the right paint. Imagine, stencils still have varieties!
Stencils can be conveniently classified according to the result, which will be presented on the wall. Depending on the shape, type and color of the pattern, they are divided into the following types:
Creating a three-dimensional image
With the help of these simple devices, you can perfectly decorate the surface of the walls. Note that there are devices for reusable and disposable use.


For us, the main thing is to choose the right stencil with the right pattern, which will perfectly fit into the style of the room. At the same time, it is important to keep in mind a number of unspoken rules regarding these drawings, so as not to spoil your liquid, classic or paintable wallpaper.

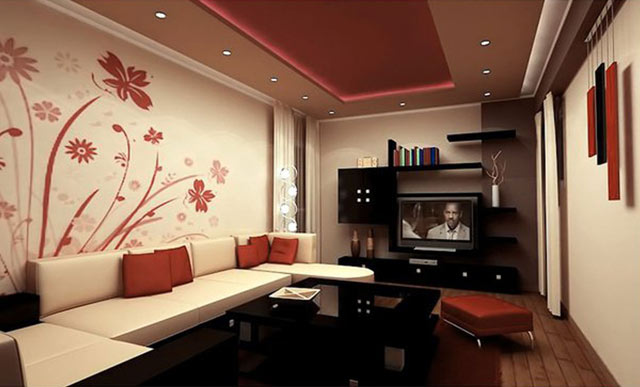
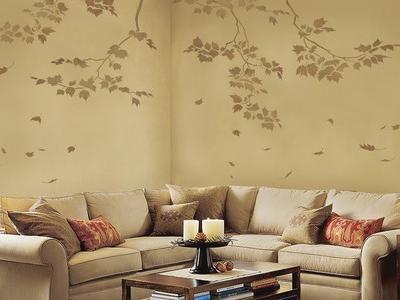
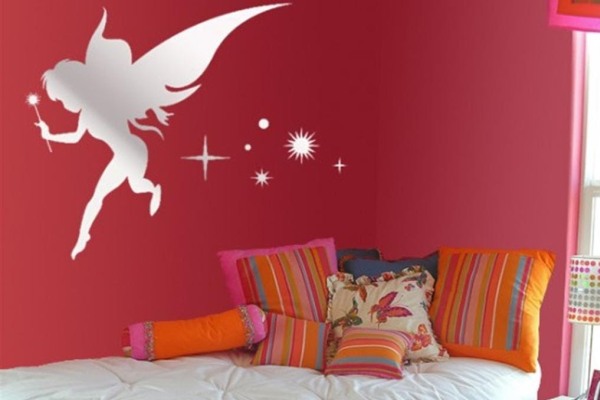
Small wall decor in the living room
The process of applying drawings to the walls through a stencil is intuitive at first glance, but we decided to walk through it casually.
At the first stage, it is important to prepare all the necessary materials and tools, we will need:
Original homemade wall decor
Having prepared a working tool, you should decide on a place for drawings on the surface of the walls. These places should be washed, if possible, or wiped with a dry cloth to remove dirt and dust.
Note that the drawing on the wallpaper for painting should be done at least 20-30 days after painting. Applying an ornament to liquid wallpaper involves a pause of two weeks.
If required, you can mark with a pencil on the wall where the drawing will be. To maintain verticality, use a level or plumb line. When everything is prepared, you can proceed to the direct painting of the walls.
The sequence of actions is as follows:

Create a pattern with a stencil
Original drawing for the hallway
To draw pictures on the walls through a stencil, the main thing is to remain calm and not fuss. This work is quite simple, anyone can do it, but the slightest mistake will lead to damage to the drawing or color defects. In this case, your paintable wallpaper or liquid options will have to be updated with new, larger patterns.
Therefore, gather your strength, with spirit and calmly decorate the surface of the walls of your room with beautiful and original drawings that you yourself have chosen.
Of the many questions and topics that are asked to tarot cards, not a small one ...

The benefits and harms of Coca-Cola. Coca Cola is a popular drink all over the world....

Everyone without exception loves sweets. Sometimes even in unlimited quantities. But...